
You know how you spend a bunch of money on a fancy toy and your toddler plays with it for 2 days then loses interest… but then they will never get tired of the empty Kleenex box? Then you will love this activity! This is such an easy and exciting project to do inside on a winter day. You can teach your kids about friction, force and air resistance while constructing a homemade toy that can be played with over and over!
LEARN SCIENCE VOCABULARY:
- Force – any push or pull; friction and air resistance are examples of forces
- Friction – the action of one surface rubbing against another, a ‘sticky’ force. Demonstrate friction by trying to slide the disc against the table or your hand
- Air Resistance – the action of air pushing against a surface (in this case, the disc and the table)
MATERIALS NEEDED:
- Old CD or DVD (it probably won’t play after this!)
- Balloon
- Wooden spool (about 1″ size – you can get these at Hobby Lobby or a similar craft store)
- Duct tape
HOW TO MAKE IT:
- Position the wooden spool so that its hole is over the hole in the CD/DVD and use the Duct tape to secure it. Be sure to use enough tape so that there are no holes that may allow air to escape.
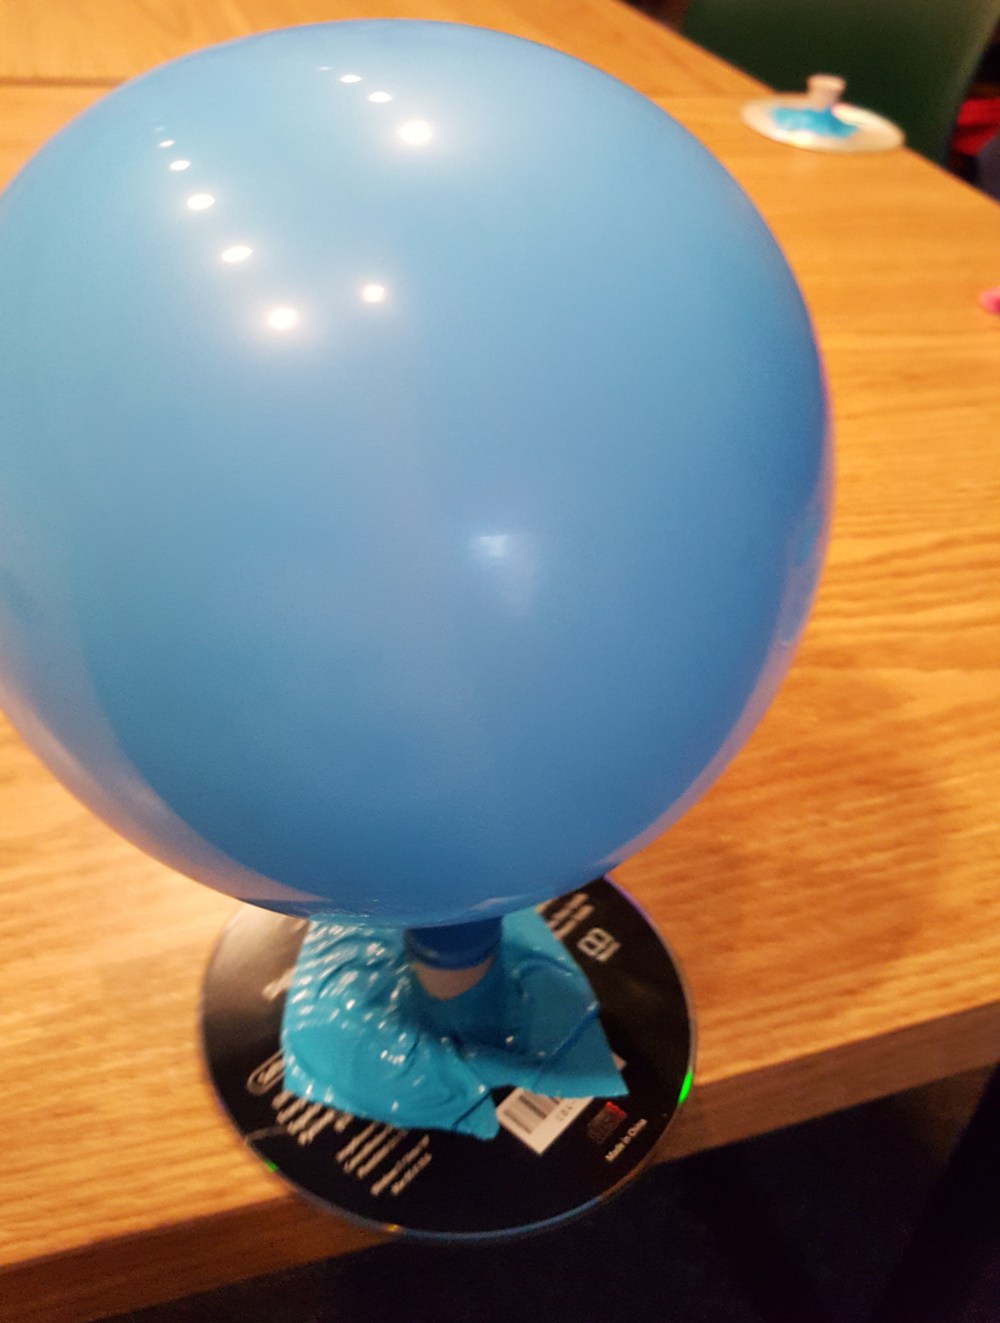
- Blow up the balloon, but don’t tie it. Stretch the end of the balloon over the top of the wooden spool while still holding the balloon closed.
- Set the disc flat on the table surface (or smooth floor) and let go of the balloon. As the air pushes out of the bottom of your Hovercraft, it will lift slightly and move about the table. You can give it a little push to keep it going or to prevent it from falling off the table edge.
THE SCIENCE BEHIND IT:
When you push the disc around the table on its own, it will tend to ‘stick’ to the table surface. The force that causes this sticking sensation is called FRICTION. When the air comes out of the balloon it is pushed under the disc, lifting it slightly off the table. The force of air resistance is much less than the friction force between the disc and the table, so it is much easier for the disc to slide across the table.
This is similar to how real hovercrafts work over land or water… or even the old Air Hockey tables we used to play with.
NOTES FOR MOMS:
This project is best for ages 3 and up, but most of the assembly requires help from an adult. First graders and older should be able attach the spool with tape and even blow up the balloon (partially, at least!). The balloons can be reused several times to power your hovercraft. I have found that preschool kids like to play with the tied balloon after one or two times with the hovercraft… which gives you a great opportunity to teach static electricity!

- Watch your Hovercraft zip around the table!
