 This super-simple activity is great for even the tiniest scientists! (My 17-month old loved it!) The messiness rating is a little high on this one, so take advantage of the warming weather and set up outside in the sunshine. You can theme this activity however you’d like – for example some kids love glitter and all things sparkly, or you could use only items found in nature, or even do an ‘Ice Age’ theme with small plastic prehistoric animals. Older children can still have fun with this by designing it themselves to spark imaginative play and/or using a thermometer to record the melting temperature of water. This could be a great way to spark conversation about melting glaciers and polar ice caps with older children as well.
LEARN SCIENCE VOCABULARY:
Liquid – one of the three states of matter (solid, liquid, and gas…or four, if you want to get all astrophysics and talk about plasma). A liquid can flow and change shape, but will always keep its same volume if you move it from one container to another.
Solid – one of the three states of matter. A solid does not change its shape or volume if you move it to a different container.
Freeze – when the temperature is lowered enough to change a liquid into a solid.
Melt – when the temperature is raised enough to change a solid into a liquid. The freezing/melting point of water is 32ºF or 0ºC.
MATERIALS NEEDED:

- Ice cube trays and other plastic containers (Greek yogurt cups, small plastic cups, butter/margarine tubs all work really well)
- Small plastic toys, beads, rocks, flowers, glitter… really anything you want to freeze into your ice shapes.
- Water (duh)
- Large plastic tub or large baking pan
- Plastic measuring cups and spoons
HOW TO MAKE IT:
- Put your items into your ice cube trays and/or other containers and fill with water. (If your child is younger than 3, you may want to do this step on your own. If your little one is like mine, she may not quite understand the concept of “waiting.”)
- Freeze overnight (or about 8 hours)


- When you are ready to explore, set the containers out at room temperature for 5 minutes or so to make it easier to pop the ice out.
- Empty the ice chunks into the large plastic bin or baking pan. (Now is a good time to take everyone and everything outside – things could get messy from here on out! Plastic smocks might be a good idea, or if you’re like me, just let them soak their clothes.)

“Dinosaurs in the Wild” themed ice chunks. - Put warm water into the plastic measuring cups and let the kids start spooning or pouring the water onto the ice chunks to watch them melt and release the frozen objects. Ask them to observe which materials are changing from a solid to a liquid, and how the ice changes as it melts. (Only the water is melting…the other solid objects like plastic toys and rocks could melt as well, but it would take a much greater temperature, like fire or the heat within the earth!)

A great opportunity for kids to freely explore the melting process. - You can take this a step further to change the state of matter one more time. When the kids tire of playing in the bin, ask them if they want to turn all the liquid back into a solid. Clear out a huge space in your freezer (great excuse to finally cook up that oversized bag of chicken wings) and put the plastic bin in overnight again. In the morning, they can observe that the liquid water has changed back into a solid and then they get to melt it all over again! (We didn’t do this, because my kids decided to use their bin water to ‘cook’ with mud… I TOLD you this could get messy!)

In retrospect, smocks would have been a great idea.
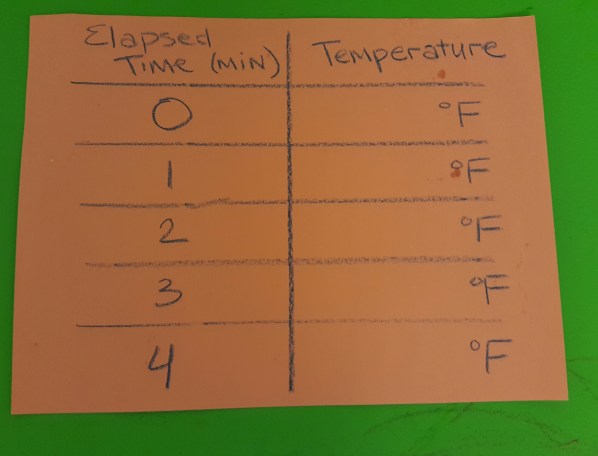
Extension for parents of older children – Have them see if they can prove the melting-point temperature of water. They can use a household thermometer to read the temperature of the warm water before they pour it onto the ice and after it starts to melt the ice. Continue reading the temperature of the melting water in the bin- as long as there is still ice in the bin, the temp should remain relatively constant at 32ºF or 0ºC even as more warm water is added. Have them use a timer and construct a simple Data Table to record elapsed time and water temperature.
THE SCIENCE BEHIND IT:
As soon as ice reaches 32ºF it starts to melt, and the ice and water will remain at 32ºF until all the ice has melted. This is why your beer stays cold in the cooler even at the end of the party when it is floating around with one or two ice chips! All matter is capable of existing in each state (solid, liquid, gas) if they reach a temperature high or low enough to change them. (For example, most household plastics melt between 200ºF – 500ºF, while rocks melt at temperatures of 1000-2000ºF.)

This is great, Skye! I will definitely be doing this with my 2! Thanks! 🙂
LikeLiked by 1 person
love these ideas! might have to do this with my son at the weekend 🙂
LikeLike