 Playing with colors is something that kids love to do…and there is a pretty big “WOW” factor watching two colors transform into something completely different! This activity is so easy you’ll want to do it everyday and so entertaining you’ll bust it out at all your parties! The melting ice cubes provide a very clear visual to show what happens when you combine primary colors. Even the littlest scientists will enjoy the cool (lol, pun intended!) sensory aspects of playing with the ice as it melts into different colors!
LEARN SCIENCE VOCABULARY:
Primary colors – Red, blue and yellow are the primary colors of pigment (you may also see them referred to as magenta, cyan and yellow in printer ink). These colors cannot be made from the mixing of other colors. (Primary colors are different when talking about light rather than pigment.)
Secondary colors – Green, orange, and purple are the secondary colors of pigment. They are made from mixing the primary colors.
Color Wheel – a circular diagram showing the relationship between primary and secondary colors. 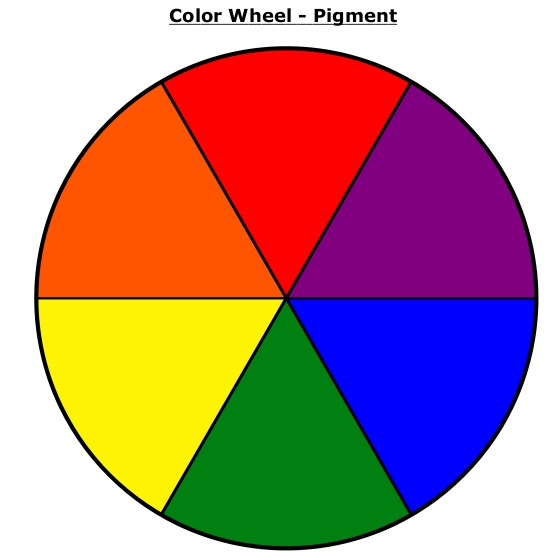
MATERIALS NEEDED:
- Water
- Food coloring
- Ice cube tray (very cheap at the dollar store!)
- 6 Clear jars or cups
- Optional: squirt bottle
HOW TO MAKE IT:
- Freeze colored water into ice cubes. Only use blue, red and yellow food coloring – the PRIMARY COLORS of pigment.

Freeze only the 3 primary colored cubes. - When your cubes are ready, put the cubes in the clear jars so that you will have each color on the color wheel. Red + Blue = Purple; Blue + Yellow = Green; and Yellow + Red = Orange.

Add 2 ice cubes to each jar so that you will have each primary and secondary color. - I gave my son a squirt bottle (my trusty ole Sriracha bottle came in handy once again!) filled with water. He squirted the cubes to speed up the melting process.
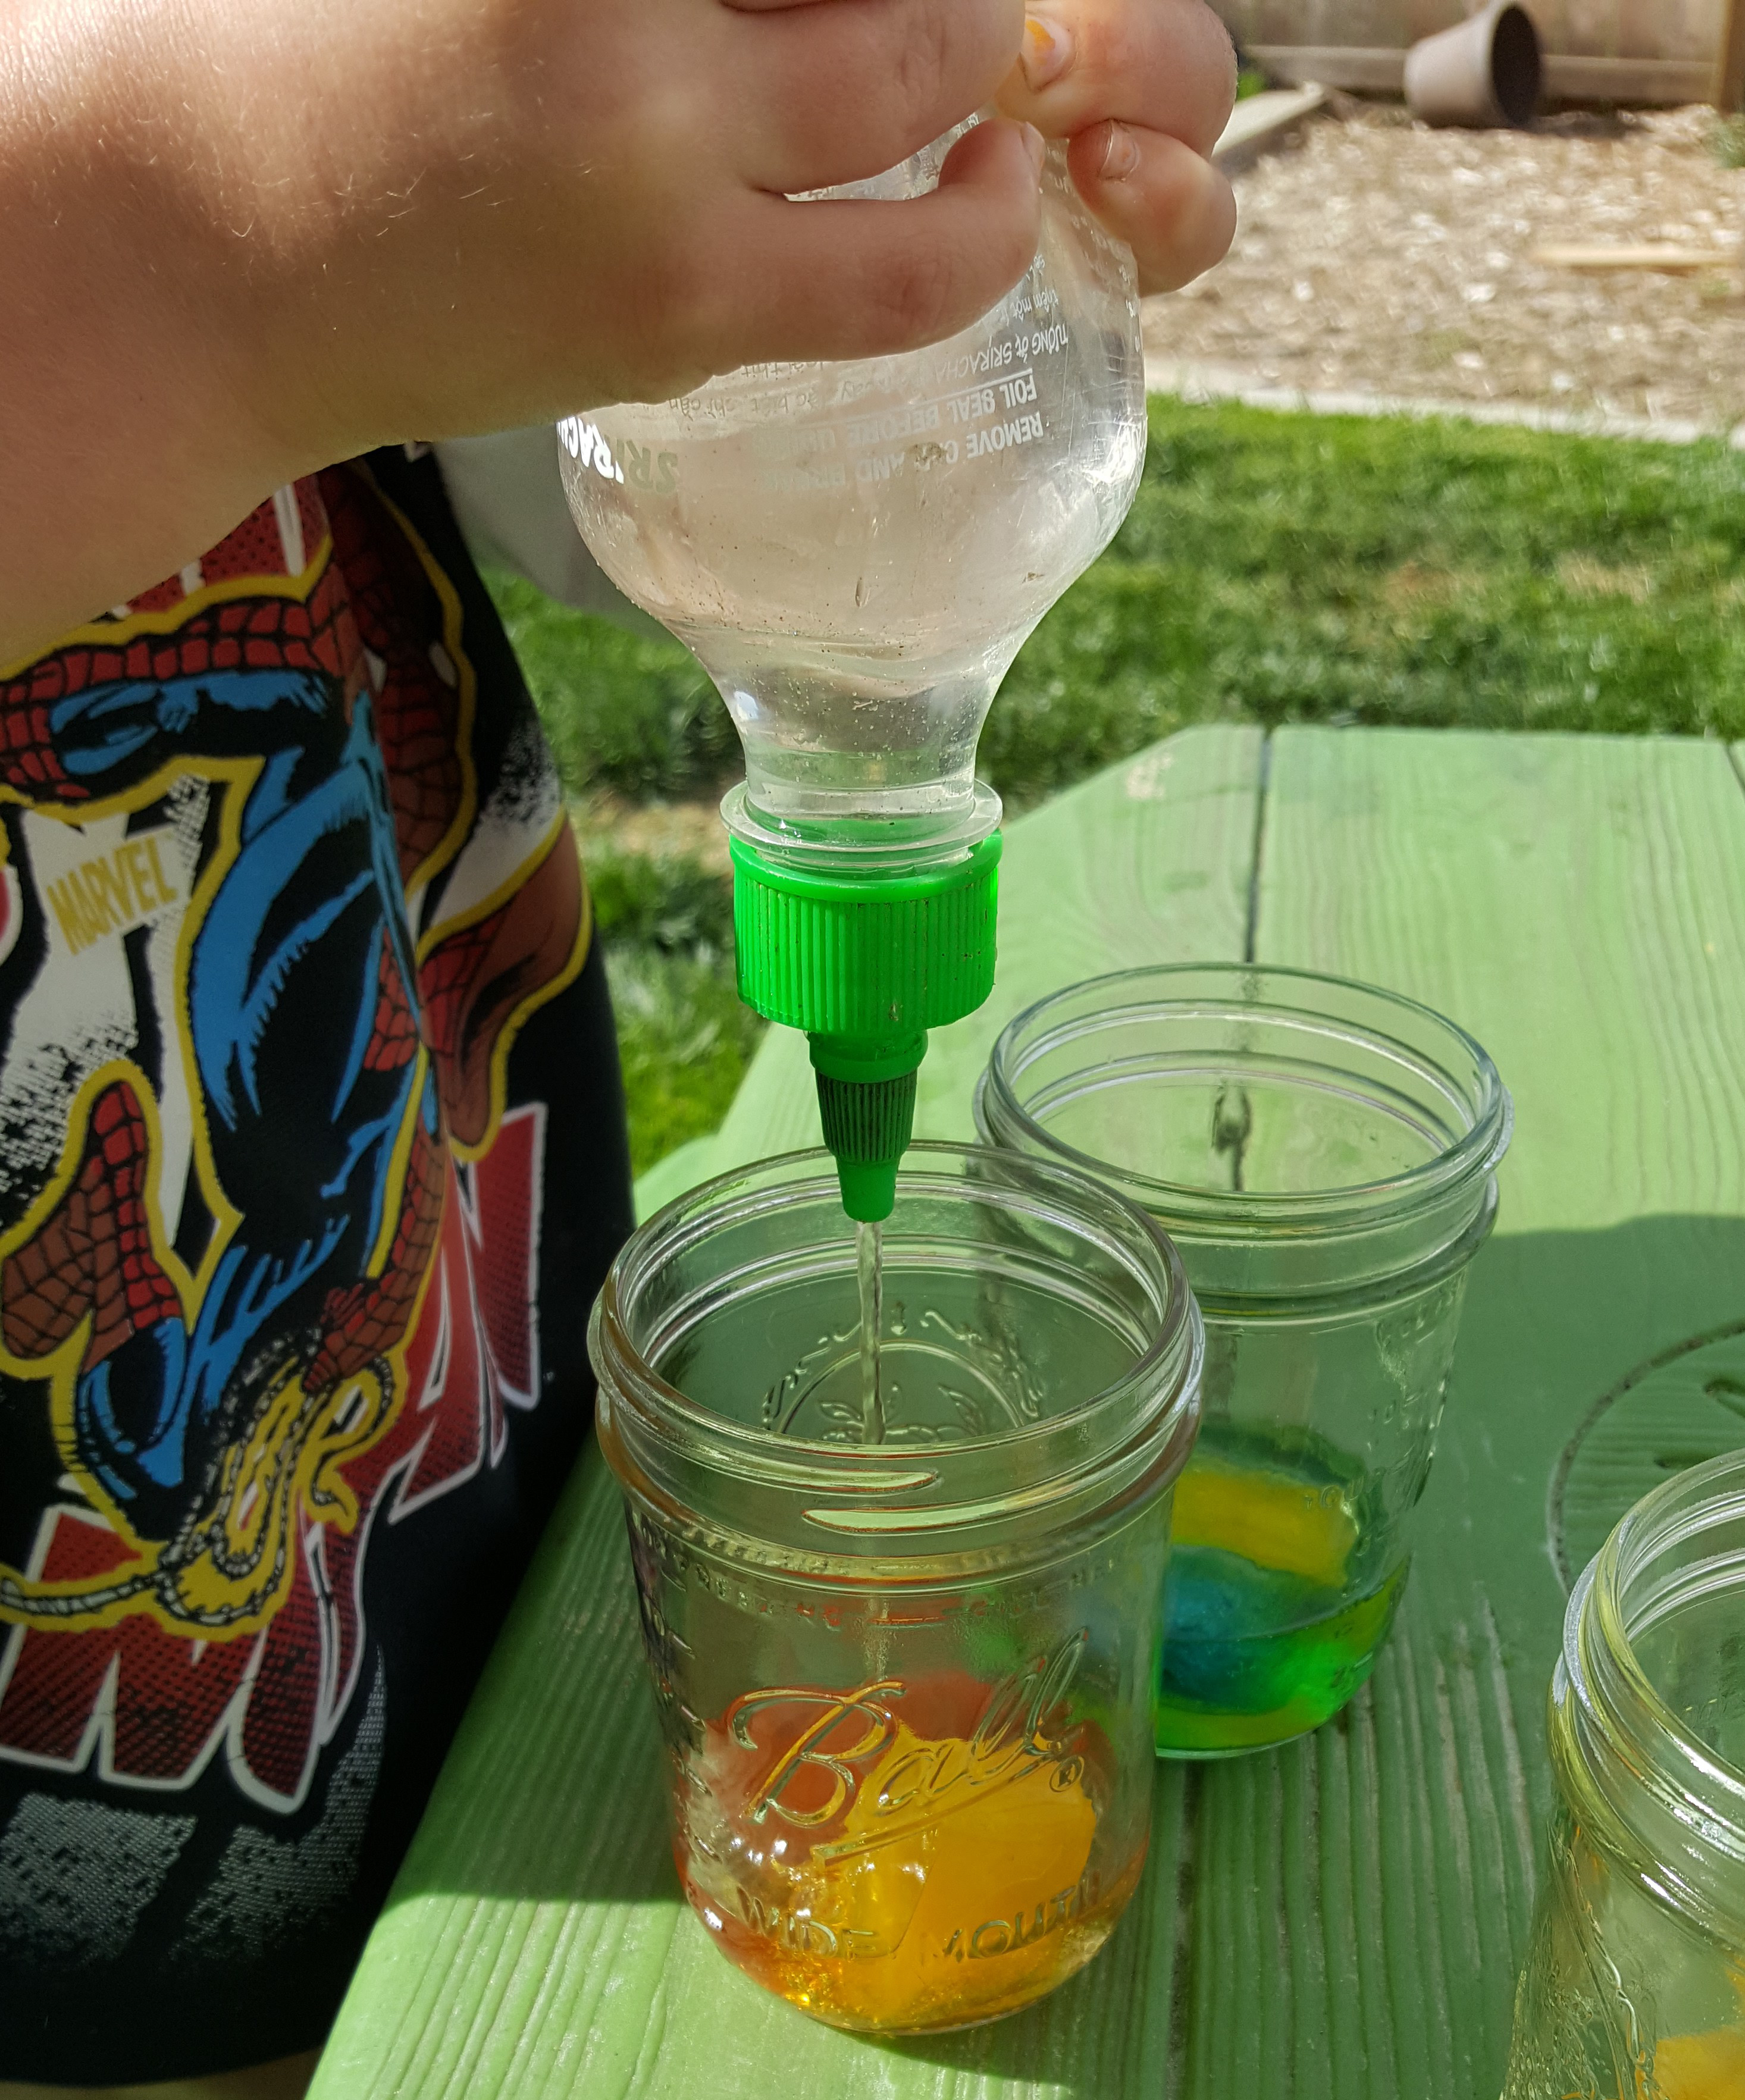
Use a squirt bottle to melt the ice quickly. You can see the orange forming from the mixing of red and yellow ice cubes! You can see the SECONDARY COLOR forming right away!

A rainbow of colored cubes and water is beautiful in the sunlight! - After you’ve made your color wheel with jars of PRIMARY and SECONDARY COLORS, try adding all 3 colors of cubes to one of the jars. The water will turn black!


**EXTENSION FOR OLDER KIDS: You could take this further by getting 3 more jars and melting 3 ice cubes in each to see more hues in your color wheel! (For example, 2 yellow cubes and 1 red; then 2 red cubes and 1 yellow. This will give you 2 shades of orange.)
THE SCIENCE BEHIND IT:
White light (sunlight, light bulbs, etc) is actually made up of a spectrum of colored light in different wavelengths. The primary colors of light are red, green and blue! Mixing colors of light will give you different secondary colors than mixing paint colors.
The color we see on objects is the color of the wavelength of light that the object does not absorb but rather reflects back to your eye (for example, the red ice cube absorbs all the colors in the spectrum except red light, which it reflects back to your eye). It gets a little complicated here because the primary colors of light are different: Yellow paint reflects red and green light back to your eye. I know that sounds weird, but if you mix red and green lights, you will see yellow light! When you mix yellow and red food coloring to make orange, the red is absorbing some of the green light. Wavelengths of red light and only some green light are being reflected back to your eyes, which results in you seeing orange. (More on light color mixing to come at a later date.)
When all the primary color cubes are mixed in the jar, they absorb all wavelengths of visible light, resulting in your eyes seeing the water as black!


I’m definitely going to try this with my preschooler! He will love this
LikeLike
My kids would go wild for this! I love doing activities they can learn from. Thanks for sharing the science behind it!
LikeLike
This is such a fun activity! Will try this at home!
Belle | One Awesome Momma
LikeLike
this is such a neat project!
LikeLike