
As soon as they can wave their chubby arms and bob their giant heads, babies love getting down to music…and it doesn’t change much as kids get older! There are so many natural ways to make sounds and learn about the vibrations that bring music to our ears. With these 3 simple projects, your kids can make their own musical instruments using items found in your own kitchen!
(Special thanks to my local MOMS Club for sacrificing their ears and helping out with this project!) 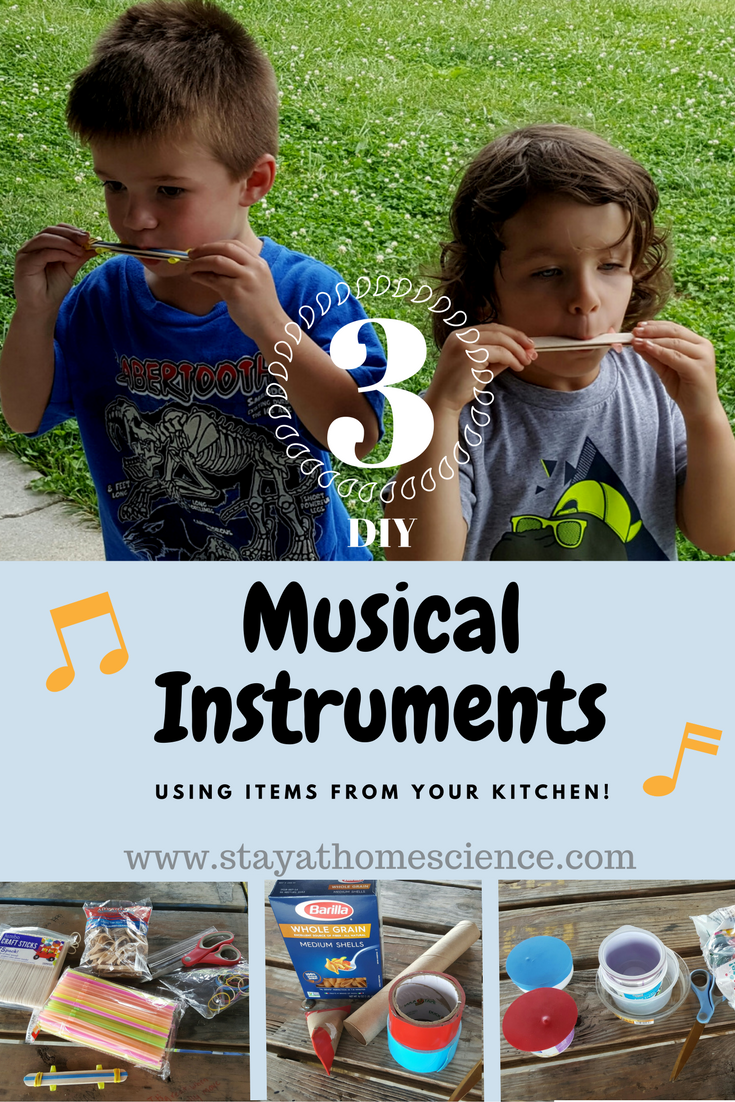
LEARN SCIENCE VOCABULARY:
Elastic – a solid material that stretches when you pull or push on it. Elastic materials have stored energy that is released when they are stretched or compressed (for example, a bouncy rubber ball).
Vibration – a quick, rhythmic back-and-forth motion. Vibrations in elastic materials cause vibrations in the air… also called SOUND WAVES!
Sound Waves – vibrations in air (or any other medium…sound travels very well under water!) that move into our ears. Our brains recognize different sizes of waves as different sounds!
Rain Drum
(Anything can be a drum, especially for preschoolers! Most of the dinners I make at home are to background music of banging pots and pans and off-key yodeling. This super-easy drum is a great way to repurpose recyclables, and actually makes a pretty nice sound in the rain!)

MATERIALS NEEDED:
- Smallish plastic containers, such as yogurt cups, sour cream containers, cleaned and dried (the best drum I made was from the lid to a Country Time lemonade mix!)
- Balloons
- Scissors
HOW TO MAKE IT:
- Cut the “nose” end off the balloon with scissors (this is definitely a job for an adult!).
- Stretch the fat end of the balloon over the open part of the plastic container to create the drum head.

It may take big grown-up hands to stretch the balloon over the container. - Put the drum on the ground and use a stick or fingers to lightly tap the drum and make a sound!
- To make them a “Rain Drum” place these drums outside in the rain, and listen to the music made as the drops fall on the balloon. It’s pretty cool!
- QUESTIONING AND EXPERIMENTING:
- Use several different sizes and shapes of containers to make an orchestra of drums. Have kids listen to the sounds made by each one. Which makes the highest pitch or lowest pitch sound? What differences in the drum or balloon size and shape might cause the different sounds? (The thinner the balloon is stretched, like in a wide plastic container, the higher pitch your drum will make!)
- Have the kids hold the drum in the palm of their hand. Does holding the drum make the sound louder or quieter? (If they hold the drum, they are inhibiting the vibrations of the drum and therefore not producing as many sound waves in the air.)

Holding the drum in different ways will change the pitch of the drum!
Shaker
(There are a million ways to make a shaker, but I love this one because it is simple and sturdy…very important when your toddler is a whirling tornado of destruction. I found it on Picklebums.com, which is an excellent site for all things toddler and crafty! This link also includes 4 easy games to play with your toddler using your new shakers.)

MATERIALS NEEDED:
- Toilet paper or paper towel tube
- Duct tape
- Dry pasta, rice, beans, or any other stuff to put inside the guts of our shaker
HOW TO MAKE IT:
- Use the Duct Tape to pinch one end of the toilet paper tube closed.
- Partially fill the tube with your shaking stuff. (The more you fill it, the more muted your shaker will sound. This is because there is not as much room for the air inside the shaker to vibrate.)
- Pinch the other end of your tube, and seal it shut with Duct Tape.
- Shake, shake, shake!
- QUESTIONING AND EXPERIMENTING:
- Try using other containers for your shaker: plastic eggs, Pringles cans, aluminum cans (if your kids are older and can be careful around the sharp opening). There are so many of these ideas on kids craft boards on Pinterest! Ask your kids: How does changing the container change the sound of our shakers? (Sound vibrations travel differently through different medium…plastic and metal will vibrate at different frequencies than paper.)
- Try filling toilet paper tubes with different amounts of your shaker stuff to see how this changes the sounds you make. Use the different pitches of shakers to make a song!
Kazoo
(I found this awesome instrument at Frugal Fun 4 Boys. She’s got some great resources for homeschooling, and her page is worth a look! Her boys are a bit older and could do this one on their own. But when I did this activity with toddlers, the construction of this instrument required a lot of adult help!)

MATERIALS NEEDED:
- 2 wide craft sticks (I bought these at Walmart)
- Drinking straw
- 1 wide rubber band (I used one off a bunch of asparagus from the grocery store!) and 2 thin rubber bands
- Scissors
HOW TO MAKE IT:

- Cut 2 pieces off the drinking straw, about 1 1/2 inches long.
- Wrap one of the craft sticks longways with the wide rubber band.
- Place one straw piece under the wide rubber band on one end of the stick.
- Put the second craft stick on top of the first and attach them with a thin rubber band on the straw end.
- Place the second straw piece between the top of the wide rubber band and the top craft stick. (One straw will be under the rubber band, and one will be on top.)
- Attach the other end with the last rubber band.
- Blow in the middle to make a kazoo sound. (HAHA! You’re welcome for this! You might want to leave this one at Grandma’s house…)

Even the littlest scientists can learn to use this kazoo! - QUESTIONING AND EXPERIMENTING:
- Slide the straw pieces closer and farther apart to change the pitch of the kazoo. Ask the kids: How does it sound different if we move the straws closer to where we blow? Why? (Moving the straws closer together shortens the length of rubber band that is vibrating and making the sound. A shorter length means a higher pitch sound…and you probably have to blow harder!)
- Can you change the way you blow to make different sounds? Can you try to play a simple song? (Mary Had a Little Lamb was the one my husband did. My son made up his own kazoo ditty…)

These look like so much fun and a great way to get kids interested in music! I played piano and was in band, hoping to get my daughter into piano when she is older!
LikeLike
these are awesome. Thanks for some cool new ideas for instruments!
LikeLike
I remember doing these when I was in elementary school. Can’t wait to share them with my little one. Thanks for the inspiration.
LikeLike
Such fun ideas! My son will love that kazoo! Thanks for sharing!
LikeLike
This looks like such a fun summer activity!!
LikeLike